Little Sew & Sew machines represent a fascinating niche within the world of vintage and modern portable sewing. Finding a user manual, especially for older models like the Sew Easy, can initially seem challenging, but resources like PatternReview.com offer downloadable PDFs.
These compact machines, often marketed towards beginners or children, offer a unique blend of simplicity and functionality, making them appealing to a wide range of users.
What are Little Sew & Sew Machines?
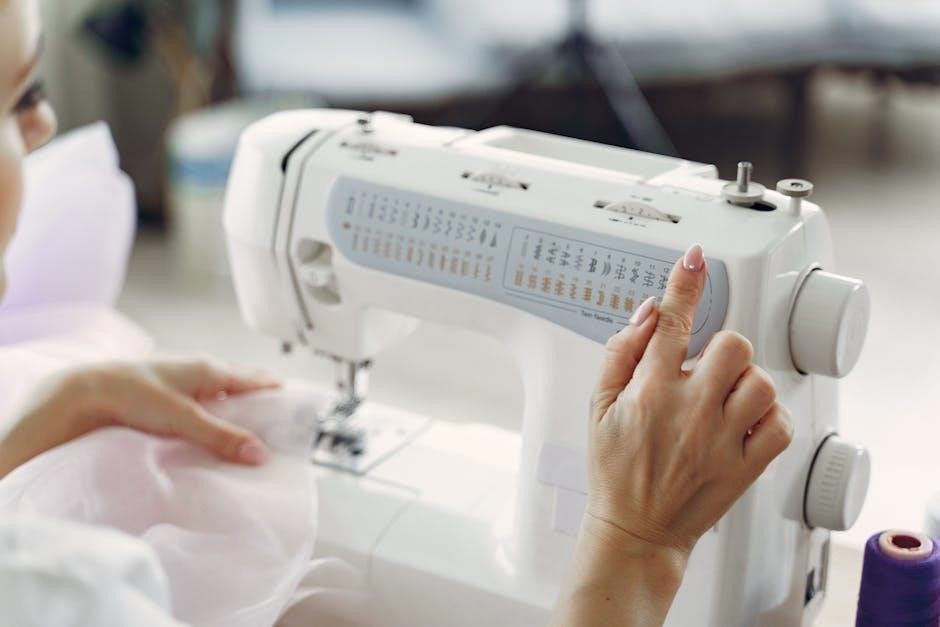
Little Sew & Sew machines are generally characterized by their small size and lightweight design, making them incredibly portable and easy to store. They often cater to beginners, children, or those needing a machine for quick repairs and small projects. These machines aren’t typically built for heavy-duty use, but excel at simpler tasks.
The term encompasses a variety of brands and models, including the Sew Easy, a machine frequently identified as a Kenmore clone. Accessing a manual is crucial for operation, and thankfully, online communities like PatternReview.com provide resources for locating PDFs of these often-missing guides. Understanding the machine’s capabilities and limitations, as outlined in the manual, is key to successful sewing. They represent a charming piece of sewing history, offering a nostalgic experience alongside practical functionality.
Historical Context & Popular Models
Little Sew & Sew machines gained prominence in the mid-20th century, offering accessible sewing to a broader audience. The Singer Little Touch & Sew 67A3, circa 1966, stands out as a popular model, often found with its original case, table clamp, and – importantly – its manual. These vintage machines frequently appear on platforms like Etsy, often well-maintained and sought after by collectors.
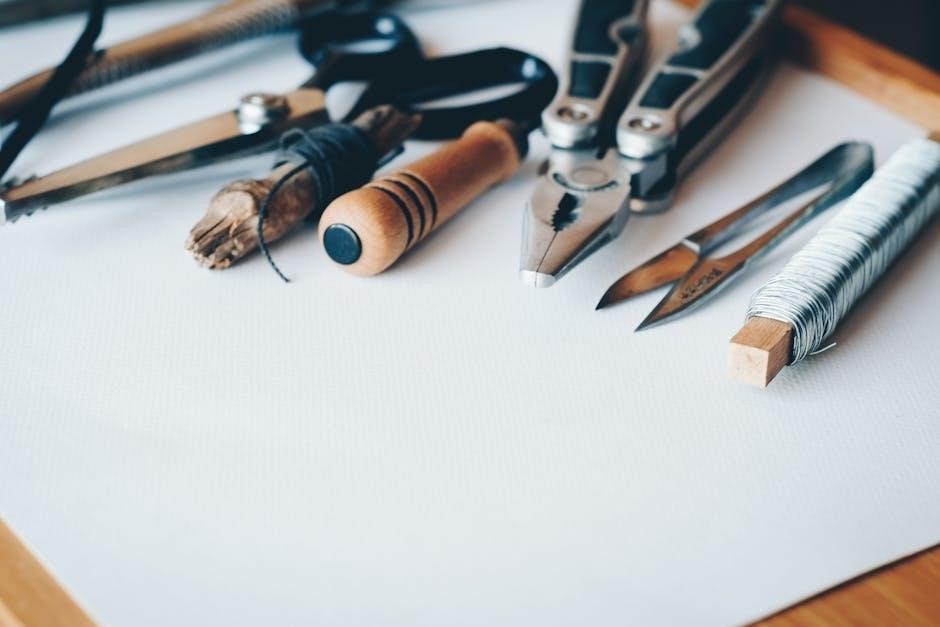
The Sew Easy, often recognized as a Kenmore clone, also enjoyed popularity. Locating the Sew Easy manual can be aided by online forums like PatternReview.com, which host downloadable versions. More recently, the Lil Sew & Sew LSS-202 has emerged, typically sold as a combo pack with scissors and a sewing kit. The availability of a clear, comprehensive manual remains a consistent need for owners of all these models, both vintage and new.
Understanding the Sew Easy Machine
Sew Easy machines are frequently identified as Kenmore clones, and finding the original manual is often possible through online resources like PatternReview.com for assistance.
Sew Easy as a Kenmore Clone
The Sew Easy machine is widely recognized within sewing communities as a direct clone of certain Kenmore models. This relationship is incredibly valuable when seeking information, particularly a user manual. Because of this close lineage, Kenmore manuals from comparable models often function perfectly with the Sew Easy.
Owners frequently discover that Kenmore documentation details the same parts, threading procedures, and maintenance guidelines. This is a significant advantage, as original Sew Easy manuals can be difficult to locate. PatternReview.com discussions highlight this connection, emphasizing the practicality of utilizing Kenmore resources.
Understanding this cloning relationship simplifies troubleshooting and repair, allowing users to leverage the broader support network available for Kenmore sewing machines. Essentially, treating the Sew Easy as a Kenmore significantly expands access to helpful information and parts diagrams.
Locating the User Manual for Sew Easy
Finding a dedicated user manual for the Sew Easy machine can prove challenging due to its vintage and relatively limited production. However, resourceful online communities, notably PatternReview.com, have become invaluable hubs for locating digital copies. The forum discussions frequently share links to downloadable PDF versions of the manual.
These shared resources often originate from dedicated collectors who have scanned and archived original documentation. It’s important to note that the availability of these manuals can fluctuate, so regular checking of these forums is recommended. Beyond PatternReview, broader vintage sewing machine websites and online marketplaces sometimes list original manuals for sale.
Persistence is key; while a direct download isn’t always immediate, the sewing community’s collaborative spirit often yields results, ensuring owners have access to essential operating instructions.
Needle Compatibility for Sew Easy
Determining the correct needle type for the Sew Easy machine is crucial for optimal performance and preventing damage. Information gleaned from online resources, particularly discussions surrounding the machine as a Kenmore clone, suggests the manual itself details compatible needle sizes and systems.
While specific details may vary, general consensus points towards standard glass needles commonly used in vintage machines. It’s noted that finding the correct needle isn’t necessarily easy, but not overly difficult either, implying availability through specialized sewing supply stores or online retailers catering to vintage machine parts.
Always consult the manual if accessible, or cross-reference with Kenmore machine needle guides, as the Sew Easy shares significant mechanical similarities. Using the wrong needle can lead to skipped stitches, thread breakage, and potential harm to the machine.
The Singer Little Touch & Sew 67A3
Singer’s Little Touch & Sew 67A3, circa 1966, frequently appears with its original manual, case, and table clamp, often sold on platforms like Etsy as a charming vintage find.
Features of the Singer Little Touch & Sew
The Singer Little Touch & Sew 67A3 is celebrated for its child-friendly design and battery operation, making it an accessible introduction to sewing for young learners. This miniature machine boasts a straightforward operation, ideal for simple projects and fostering creativity. Its compact size and lightweight construction enhance portability, allowing for sewing on the go.
A key feature is its ability to operate on batteries, eliminating the need for a power outlet and increasing safety for children. The included manual, when available, provides clear instructions for basic sewing techniques and machine maintenance. Despite its simplicity, the Little Touch & Sew is a fully functional sewing machine capable of handling lightweight fabrics and basic stitches. It’s a delightful piece of sewing history, offering a nostalgic charm alongside its practical functionality.
Availability and Condition (Vintage Machines)
Vintage Singer Little Touch & Sew 67A3 machines, and similar models, are primarily found through online marketplaces like Etsy, where sellers such as WantsNotNeeds frequently offer them. Condition varies significantly; many are sold “as-is,” potentially requiring cleaning, oiling, or minor repairs. Finding a complete machine with the original manual, case, and table clamp is increasingly rare and commands a higher price.
Expect to encounter machines with cosmetic wear consistent with their age. Functionality can also be inconsistent – some may operate perfectly, while others may need servicing. Thoroughly review seller descriptions and photos before purchasing. A missing manual isn’t always a deal-breaker, as resources like PatternReview.com may offer downloadable versions, but a complete set is always preferable for a truly authentic experience.
Battery Operation and Child-Friendly Design
The Singer Little Touch & Sew 67A3 was specifically designed with young sewers in mind, prioritizing safety and ease of use. A key feature is its battery-powered operation, eliminating the hazards associated with electrical cords for children. While the original manual details battery installation and usage, sourcing replacement batteries today requires careful consideration of size and voltage compatibility.
The machine’s lightweight construction and simplified controls further contribute to its child-friendly nature. However, even with these features, adult supervision is always recommended. The manual likely included safety guidelines, emphasizing responsible operation. Despite its age, the Little Touch & Sew remains a charming introduction to the world of sewing, offering a hands-on learning experience.
Modern Mini Sewing Machines: Lil Sew & Sew LSS-202
Lil Sew & Sew LSS-202 combo packs include the machine, scissors, and a sewing kit; however, the included manual is often criticized for being inadequate and unhelpful.
Combo Packs: Machine, Scissors & Sewing Kit
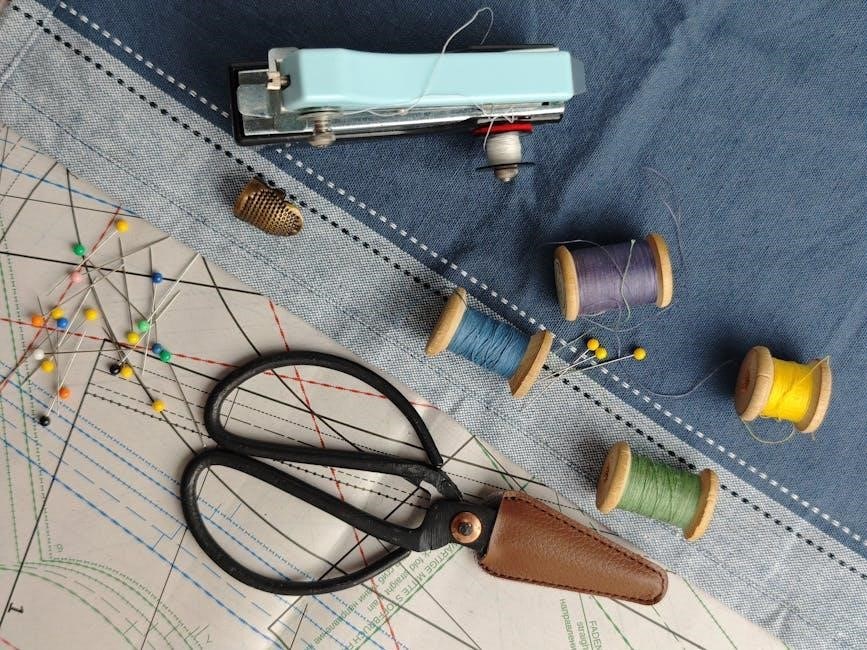
The Michley Lil Sew & Sew LSS-202 is frequently sold as a convenient combo pack, bundling the mini sewing machine with a pair of battery-operated electric scissors and a comprehensive 42-piece sewing kit. This all-in-one approach aims to provide beginners with everything needed to start simple sewing projects immediately. However, potential buyers should be aware that while the kit offers a wide range of accessories, the quality of the included manual is a common point of criticism.
Customer reviews frequently mention the manual’s lack of detailed instructions and clarity, making it difficult to fully understand the machine’s features and operation without supplemental resources. Despite this, the combo pack’s affordability and convenience continue to make it a popular choice for those seeking a portable and compact sewing solution. The electric scissors are a bonus, offering a quick and easy way to cut fabric, though some users prefer traditional scissors for greater control.
Features and Functionality of the LSS-202
The Lil Sew & Sew LSS-202 is a basic, portable mini sewing machine designed for simple repairs and small projects. While it lacks the advanced features of full-size machines, it offers essential straight stitching functionality. Users often find success by deviating from the recommended thread and opting for a higher-quality all-purpose thread, like Gutermann, to minimize thread breakage and improve stitch quality.
Despite its simplicity, mastering bobbin winding can be tricky, and a little “hack” involving scissors or snips can help ensure the thread winds correctly. Unfortunately, the included manual is often cited as inadequate, offering limited guidance on troubleshooting or advanced techniques. Therefore, supplementing with online tutorials and resources is highly recommended for optimal performance and understanding of the machine’s capabilities.
Troubleshooting Common Issues
Little Sew & Sew machines frequently experience thread breakage, often resolved by using a better thread quality, and the manual offers limited help with these issues.
Thread Breakage and Thread Selection
Thread breakage is a commonly reported issue with Little Sew & Sew machines, and often isn’t due to a mechanical fault, but rather the thread itself. Many users find that the thread recommended in the original manual isn’t ideal for consistent performance.
Switching to a higher-quality, all-purpose thread like Gutermann significantly reduces instances of breakage and improves the overall stitch finish. The lower quality threads can cause increased friction within the machine’s tension system, leading to frequent snaps. Experimenting with different thread weights is also advisable, as some machines struggle with thicker threads.
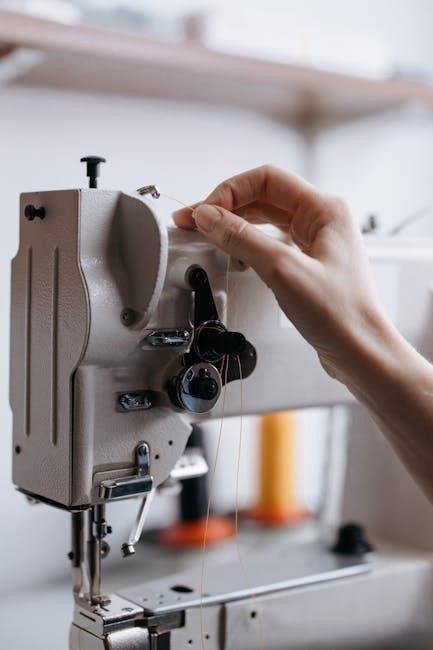
Carefully re-threading the machine, ensuring the thread is properly seated in all guides and the tension disc, is crucial. A poorly threaded machine will almost certainly experience thread breakage. Remember to check the needle for any burrs or damage, as this can also contribute to the problem.
Bobbin Winding Techniques
Proper bobbin winding is essential for smooth operation of Little Sew & Sew machines. While the manual may offer basic instructions, achieving a consistently even wind often requires a little finesse. A helpful technique involves using small scissors or snips to gently guide the thread onto the bobbin as it winds.
This ensures the thread lays flat and doesn’t bunch up, preventing uneven tension and potential jamming. Maintaining consistent, gentle pressure on the thread spool during winding is also key. Avoid letting the spool spin freely, as this can lead to inconsistent thread delivery.
If the bobbin isn’t winding correctly, double-check that the bobbin is correctly seated on the winding spindle and that the thread path is clear. Experiment with slightly adjusting the thread tension during winding if issues persist.
Manual Quality and Limitations

The quality of Little Sew & Sew machine manuals can vary significantly, particularly with vintage models. Many users report that the manuals are often brief and lack detailed troubleshooting guidance. Some, like those for the LSS-505 LX, are described as “not good at all,” offering minimal assistance for resolving common issues.
This necessitates relying on online resources, such as forums like PatternReview.com, and community knowledge to supplement the printed instructions. The limited detail in the manuals often assumes a basic understanding of sewing machine operation, which may not be the case for beginners.
Therefore, supplementing the manual with online tutorials and videos is highly recommended for a more comprehensive understanding of the machine’s features and maintenance.
Resources and Further Information
PatternReview.com provides valuable discussion forums and downloadable manuals for Little Sew & Sew machines, aiding troubleshooting and offering community support for these compact devices.
Online Forums and Communities (PatternReview.com)
PatternReview.com stands out as a particularly helpful online resource for owners of Little Sew & Sew machines. The site hosts active discussion forums where users share experiences, troubleshooting tips, and valuable information about these often vintage devices.
A key benefit of the PatternReview community is the availability of user-submitted resources, including downloadable PDF copies of original user manuals. This is especially useful for models like the “Sew Easy,” where finding original documentation can be difficult. Members frequently assist each other in locating manuals and deciphering instructions.
Beyond manuals, the forums offer a space to ask questions about needle compatibility, thread selection, and common issues like thread breakage. Experienced users often provide detailed guidance, making PatternReview.com an invaluable resource for both beginners and seasoned sewists working with these miniature machines.
Finding Replacement Parts
Sourcing replacement parts for Little Sew & Sew machines can present a challenge due to their age and specialized components. However, diligent searching and leveraging online communities can yield positive results. While a dedicated parts supplier is uncommon, platforms like eBay and Etsy frequently list vintage sewing machine parts, including those compatible with these mini machines.
The user manual, when available, is crucial for identifying the correct part numbers. Even without a manual, detailed photos and descriptions posted on forums like PatternReview.com can aid in identification. Common replacement needs include needles, bobbins, belts, and occasionally, small gears or switches.
Patience and persistence are key. Cross-referencing parts with similar, more common sewing machine models can sometimes uncover compatible alternatives. Don’t hesitate to ask for assistance within online sewing communities – experienced collectors often have valuable insights and resources.